Process

From the first measurement to the final fitting.

A kitchen goes wrong where it changes hands — between the person who measured, the factory that cut and the crew that fitted. We leave no such gaps: measuring, design, manufacture and installation are one continuous responsibility.

01
Infowood 1992 / 3D CAD

Measurement and 3D design

The kitchen is made twice. The first time in 3D, in Infowood 1992, from a laser measurement of the room as it really is — walls that lean, floors that are not level and ceilings that slope.

Every cabinet, edge, hinge, drawer, opening for pipes and cables and appliance space is worked out in that drawing. Not roughly — to an exact dimension.

The result is not just a picture. It is the list of every part to be cut and every piece of hardware to be fitted. The photo-realistic image you approve and the file that instructs the machines (CNC) come from the same drawing: what you sign off is what gets cut.

We start fromA laser measurement of your room±1 mm
DrawingThe whole kitchen in 3D, part by part1:1
You receiveParts list, hardware list, photo-realistic imageSame file
Changes to the designUnlimited, before manufacture startsNo charge
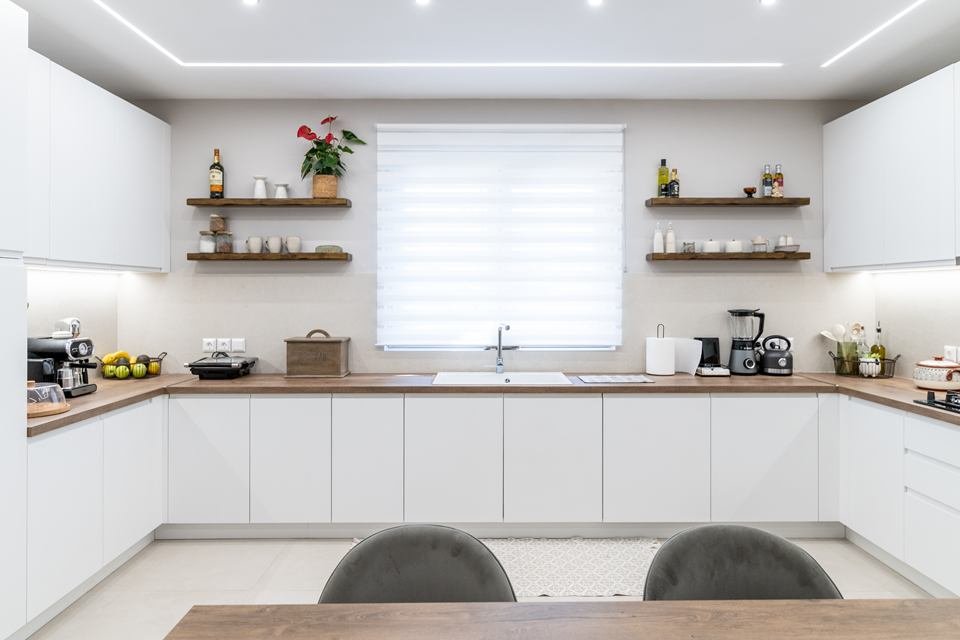
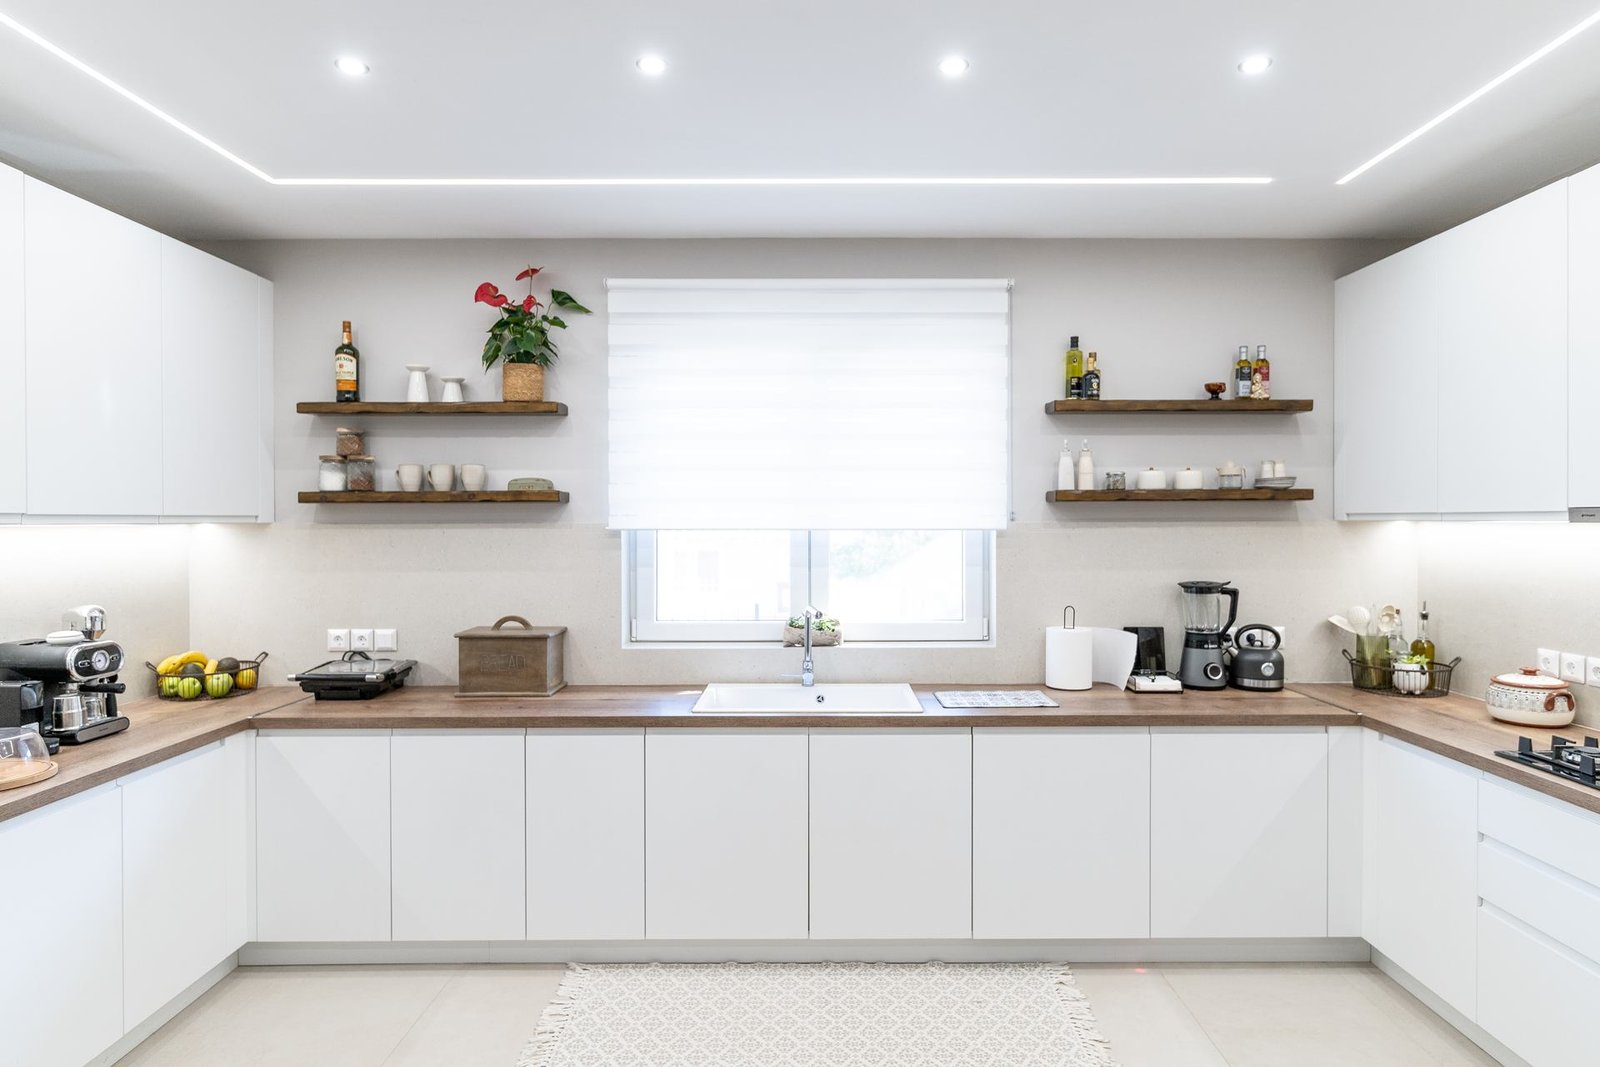
Symmetrical U-shaped kitchen with central window, timber worktop and open shelving.
02
Silves / 2,500 m²

Manufacture at the factory

Manufacture happens in direct partnership with Silves — a 2,500 m² factory with modern European precision (CNC) machinery.

Direct partnership means the drawing you approved goes straight to the machines. Nobody else re-draws it, re-prices it or interprets it on the factory floor. Cutting, drilling and edging run as one sequence from the same drawing — which is why a 2,847 mm kitchen arrives at 2,847 mm.

On material. Doors and drawer fronts come in real wood (veneer), lacquer or hard-wearing laminate (HPL). Where the kitchen is long enough, the wood sheets are fitted in order so the grain runs from door to door instead of restarting each time — the difference between a wall of doors and one surface that opens.

The base board, edge bonding and finish are chosen for what the kitchen will really face: heat next to the oven, water around the sink and a hand opening a handleless door every day. We choose the wood for how it lasts ten years of that, not for how it looks in photos on delivery day.

FactorySilves, our partner's factory2,500 m²
MachineryEuropean precision (CNC) machines — cutting, drilling, edgingSingle pass
From drawing to machineThe approved drawing goes straight to the machinesNo redraw
ProductionCut only for your room1
Wood grainRuns from door to doorPer run
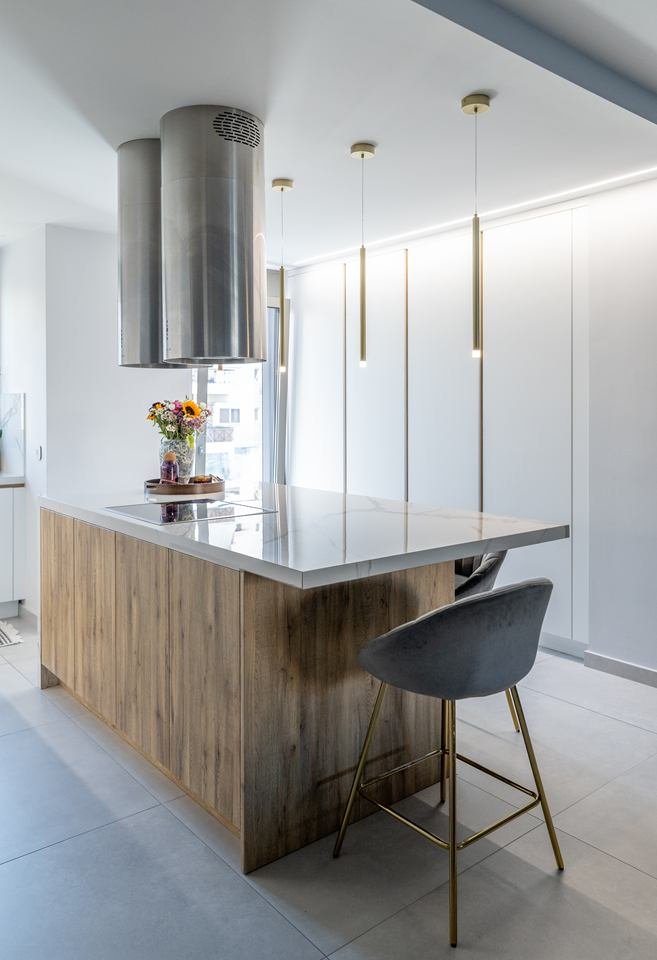
Corner of the island in timber cladding with a stone top, beneath a stainless extractor column.
03
On site / Final adjustment

Installation in your home

Installation is done by the team that measured and designed the room. Nothing is subcontracted, so no one on site is seeing the drawings for the first time.

Walls are never perfectly straight and floors never perfectly level. The difference is that we measured yours, allowed for it in the drawing and cut the parts to match. Cabinets go in on a line that was designed — not wedged until the doors roughly close.

At the end we adjust every door in height, width and depth until the gap between doors is even along the whole kitchen. That adjustment remains available for the life of the kitchen — a door that drops after five years is corrected, not replaced.

CrewThe same team that measured and designed0 subcontract
Fitting to the wallTo the line of your own wall, cut at the factoryPre-cut
Door alignmentAdjusted in height, width and depth at handover±2 mm
Gap between doorsThe same across the whole kitchen4 mm
HandoverChecked against the drawing, recorded in writingSigned
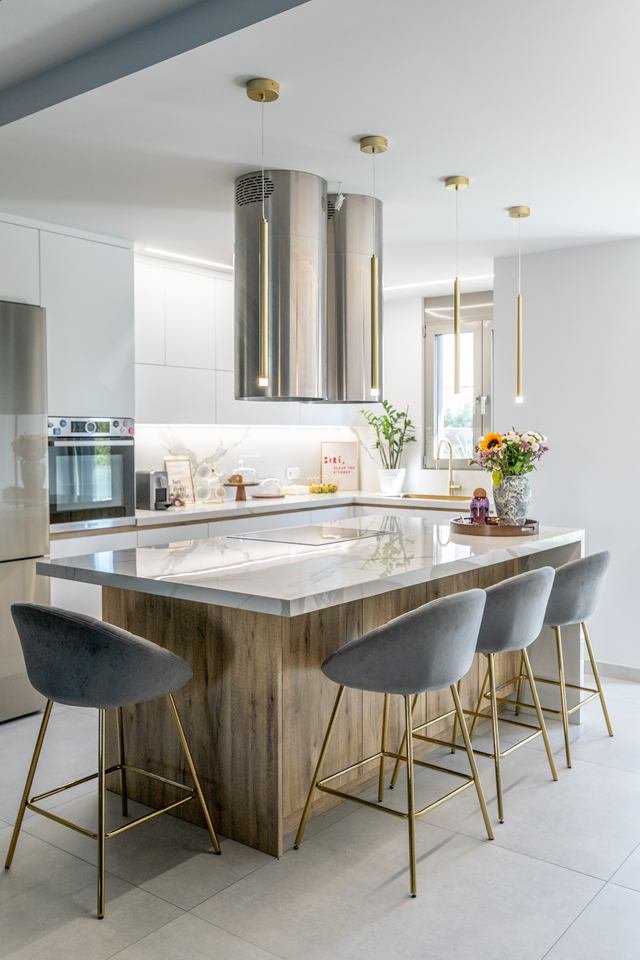
The island with four stools, with the built-in ovens and wall units behind it.
04

Programme

Indicative

  • W0

    Getting to know the project

    We read your request and talk on the phone. We agree what the project includes, when you need it and whether the room is ready, before booking a measurement visit.

  • W1

    Laser measurement

    We measure the room as it is: pipes and cables, columns and beams, floor levels and leaning walls.

  • W2–4

    3D design

    The whole kitchen in 3D, with the list of materials and hardware. Changes until you approve it, free of charge at this stage.

  • W5

    Approval and order

    You sign off the final drawing and it goes to Silves. Changes after this point cost extra, because the materials have been ordered.

  • W6–10

    Manufacture

    Cutting, drilling, edging, finishing and pre-assembly on European precision (CNC) machinery.

  • W11–12

    Installation and handover

    Delivery, fitting to your walls, assembly, adjusting every door, and a written check against the drawing.

Next

Establish whether we are the correct supplier.

A few questions, about three minutes. If the project is outside what we do, you will know straight away.

Start Discovery→